Calendula, also known as pot marigold, is a vibrant flower that is easy to grow and belongs to the Asteraceae or Compositae family. Commonly mistaken for French and African pom-pom flowers known as marigolds (Tagetes), calendula plants are versatile and offer numerous health benefits. Calendula, also called pot marigold, is a stunning and adaptable flower that is ideal for pots, brightening up your garden or balcony with a pop of color.
Step into the realm of growing calendula!
This guide is your ticket to exploring the colorful world of nurturing calendula seedlings in containers. Whether you are new to gardening or have always wanted to try your hand at nurturing seedlings in pots, By following the guidance outlined in this guide, you will discover the joy and satisfaction that comes with cultivating your own beautiful calendula seedlings in containers. Get ready to explore the vibrant world of Calendula maintenance by putting on your gardening gloves and diving in!
The benefits os growing calendula in containers
Growing calendula in containers offers several benefits:
Space Efficiency: Calendula plants can thrive in containers, making them ideal for small gardens, balconies, patios, or urban settings where space is limited. You can enjoy the beauty and benefits of calendula even in small living spaces.
Versatility: Containers allow you to move your calendula plants around to optimize sunlight exposure, protect them from extreme weather conditions, or simply change up your garden layout easily.
Control Over Growing Conditions: By planting calendula in containers, you have more control over the soil quality, drainage, and overall growing environment. This allows you to tailor the conditions to suit the specific needs of your calendula plants.
Pest and Disease Management: Container gardening can help reduce the risk of pests and diseases that may be present in the soil of traditional garden beds. You can monitor your calendula plants more closely and take proactive measures to prevent or address issues.
Accessibility: Planting calendula in containers provides easy access for caring, watering, pruning, and harvesting. This convenience can make gardening tasks more manageable and enjoyable.
Aesthetic Appeal: Containers can be chosen to complement your outdoor decor, and you can create beautiful displays with different container shapes, sizes, and colors. Calendula's vibrant blooms can add a pop of color and visual interest to your outdoor space.
Extended Growing Season: Containers can be moved indoors during colder weather to extend the growing season and protect your calendula plants from frost. This allows you to enjoy your calendula blooms for a longer period.
Overall, growing calendula in containers offers flexibility, convenience, and the opportunity to enjoy the many benefits of this versatile and beautiful plant in various settings.
Choosing the Right Container
Choose a ontainer that will accommodate your calendula seedlings that is at least 6 inches deep and broad. To avoid water buildup and wet soil, make sure the container includes drainage holes.Place broken pieces of clay pot or any hard objects on the drainage holes to aid water draining.
Most calendula varieties grow well in containers, particularly shorter cultivars. The ideal pot size for calendula plants is at least five to seven inches. When buying calendula plants, it is recommended to purchase them in a 2-inch pot. For transplanting, use a 4-inch pot or a 6-inch pot if growing a single plant.
Use any well-draining, organic potting soil, or make a mixture with a blend of half garden soil and half compost. Prepare the container with good drainage and a well-draining potting mix. Calendula is a great choice for containers and does not need additional fertilizer. However, potted specimens need regular feeding with a balanced fertilizer. Be careful not to bury the crown of the plant while repotting, as this can cause the plant to die.
Preparing Your Potting Mix
- Choose a high-quality potting mix that is formulated for seed starting or use a homemade mix comprised of equal parts peat moss, perlite, and vermiculite
- Fill your seed trays or containers with the potting mix, leaving a little space at the top for watering.
- Moisten the mix before sowing the calendula seeds to ensure proper hydration.
- Sow the seeds according to the depth recommended on the seed packet (usually around 1/4 inch deep).
- Lightly cover the seeds with a thin layer of the potting mix and gently pat down to ensure good seed-to-soil contact.
- Place the seed trays in a warm and well-lit location, providing consistent moisture and adequate air circulation. Keep the soil consistently moist but not waterlogged to prevent seed rot.
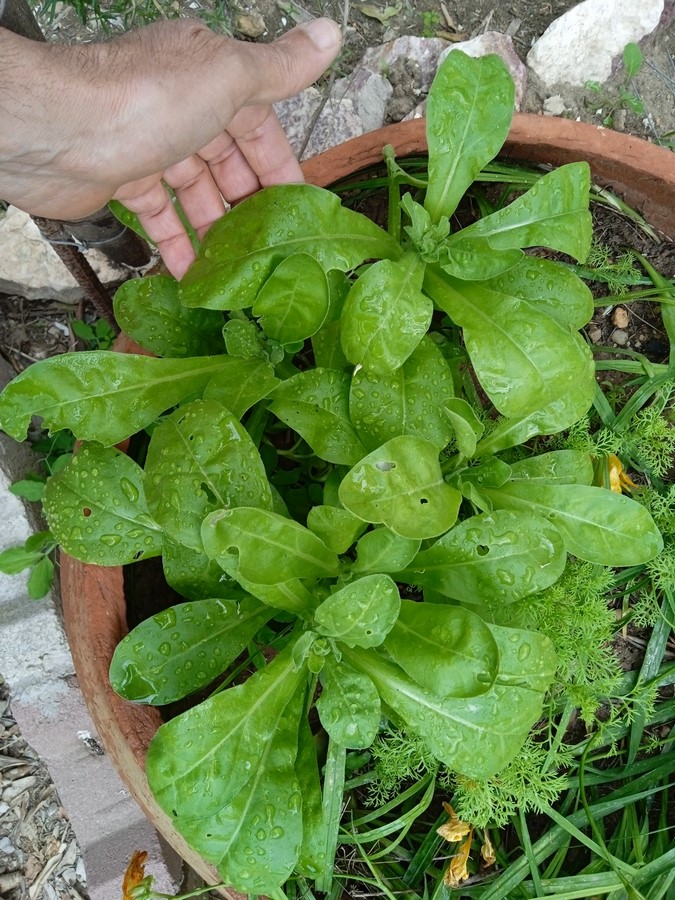
- Once the seedlings have developed true leaves, you can transplant them into individual pots or the garden as needed.
- Select a container that is at least 6-8 inches deep and has drainage holes at the bottom to prevent waterlogging.
- Fill the container with well-draining potting mix, leaving some space at the top for the seedlings.
- Water the potting mix before transplanting to ensure it is evenly moist.
- Gently loosen the soil around the calendula seedlings in their current containers to ease out the root ball. Carefully lift the seedling out of its current container, holding it by the leaves or root ball to avoid damaging the stem.
- Place the seedling into the prepared hole in the new container, ensuring the top of the root ball is level with the soil surface.
- Fill in around the seedling with additional potting mix, gently pressing down to secure the plant in place. Water the transplanted seedlings gently to settle the soil around the roots.
- Place the container in a location that receives full sun and provides good air circulation.
- Monitor the moisture level of the soil and water when the top inch feels dry, being careful not to overwater.
- Feed the calendula seedlings with a balanced liquid fertilizer diluted to half strength every 2-4 weeks to support healthy growth.
- Protect the seedlings from pests and diseases by regularly inspecting the plants and taking appropriate measures if needed.
Watch: Pro Tips for Planting Calendula Seedlings in Containers 🌼
Caring for Calendula
Caring for calendula in containers involves the following steps:
Calendula plants prefer consistently moist soil, so water them when the top inch of soil feels dry. Avoid overwatering to prevent root rot.
Sunlight: Place the container in a location that receives full sun to partial shade, ensuring the plant gets at least 6 hours of sunlight per day.
Fertilizing: Feed calendula plants with a balanced liquid fertilizer diluted to half strength every 2-4 weeks during the growing season to support healthy growth and blooming.
Deadheading: Regularly remove faded or dead flowers (deadheading) to encourage continuous blooming and prevent the plant from going to seed prematurely.
Pruning: Trim back leggy growth or spent flower heads to promote bushier growth and encourage more blooms.
Pest and Disease Control
Monitor the plant for pests like aphids or powdery mildew. Treat with appropriate organic pesticides or remedies as needed.
Winter Care: In cold climates, protect calendula plants from frost by moving containers indoors or providing insulation during the winter months. By following these care tips, you can enjoy healthy and vibrant calendula plants in your containers.
Pest and Disease Management
While calendula plants are relatively pest and disease-resistant, they can be used to attract beneficial insects and deter pests in your garden:
Calendula flowers attract pollinators like bees and butterflies, as well as other beneficial insects . These helpful creatures can improve pollination and help control pest populations in your garden.
Calendula can deter aphids from feasting on cole crops, such as collards, cabbage, broccoli, Brussels sprouts, and cauliflower 18. Planting calendula near these vegetables can help protect them from aphid damage.
Calendulas attract aphids and whiteflies, but many gardeners use this to their advantage by planting an abundance of calendulas around their gardens to lure the pests away from their prized vegetables. This strategy, known as trap cropping, can help minimize pest damage to your main crops.
How to encourage continuous blooming of calendula plants in containers?
You can encourage continuous blooming of calendula plants in containers by using the deadheading technique. Deadheading involves the removal of faded or spent flowers from the plant. This technique redirects the plant's energy from seed production back into producing more blooms, thus extending the flowering period.
Here's how you can deadhead calendula plants in containers:
- Regularly inspect the plant for flowers that have wilted, faded, or passed their prime.
- Use clean and sharp scissors or pruners to snip off these spent flowers at the base of the stem, just above a set of healthy leaves or buds.
- Make clean cuts to avoid damaging the stem or encouraging disease entry points.
- Dispose of the removed flowers to prevent the plant from redirecting energy towards producing seeds.
- By deadheading your calendula plants in containers, you can promote continuous blooming throughout the growing season and maintain a tidy and attractive appearance for your plants.
Harvesting and Storing Calendula Flowers
Harvesting and storing calendula flowers can be done following these steps:
Harvesting: Choose to harvest calendula flowers in the morning when the flowers' moisture content is higher.
Select flowers that are fully open and vibrant in color, avoiding wilted or damaged blooms.
Use clean and sharp scissors to cut the flower stem just above a set of leaves.
Drying: To dry calendula flowers, tie small bunches of flowers together with twine or string.
Hang the bunches upside down in a warm, well-ventilated, and dark place to dry. This can take about 1-2 weeks.
Alternatively, you can spread the flowers on a clean dry surface in a single layer and allow them to air dry.
Storage: Once the calendula flowers are completely dry and crispy, remove the flower petals from the stems.
Store the dried petals in an airtight container, such as a glass jar, away from direct sunlight and moisture.
Label the container with the date of harvest to keep track of freshness.
Usage: Dried calendula flowers can be used in teas, infused oils, salves, baths, and other herbal preparations.
When using the dried flowers, steep them in hot water for tea or infuse them in carrier oils for skincare products.
By following these steps, you can harvest and store calendula flowers to enjoy their herbal benefits and vibrant color even after the blooming season has passed.
To effectively dry calendula flowers while preserving their herbal benefits and vibrant color, follow these tips:
Harvest at the Right Time: Harvest calendula flowers when they are fully open and at their peak freshness. Choose flowers that are free from moisture, dew, or rain, as dampness can lead to mold during the drying process.
Gentle Handling: Handle the flowers gently to prevent bruising or damage, which can affect their appearance and quality. Use clean scissors to cut the flowers without crushing them.
Air Drying: Tie small bunches of calendula flowers together with twine or string.
Hang the bunches upside down in a warm, well-ventilated, and dark area to dry. Ensure good air circulation around the flowers to prevent mold.
Alternatively, spread the flowers on a clean, dry surface in a single layer to air dry. Turn the flowers regularly to promote even drying.
Avoid Direct Sunlight: While drying, keep the calendula flowers away from direct sunlight, as exposure to UV rays can cause the flowers to lose their vibrant color and some of their herbal properties.
Dry Completely: Allow the calendula flowers to dry completely until they feel crispy to the touch. This can take approximately 1-2 weeks depending on drying conditions.
Storage: Once dried, remove the flower petals from the stems and store them in an airtight container, such as a glass jar, away from light and moisture. Label the container with the date of harvest to track freshness.
By following these tips, you can effectively dry calendula flowers to ensure the preservation of their herbal benefits and vibrant color for future use in teas, skincare products, and herbal remedies.
When and How to Collect and Store Calendula Seeds?
Collecting and storing calendula seeds is a great way to propagate the plant for future growth.
Here's a guide on when and how to collect and store calendula seeds:
When to Collect Calendula Seeds?
End of the Growing Season: Wait until the end of the growing season when the calendula flowers have wilted and dried on the plant.
Fully Mature Seeds: Ensure that the flower heads have turned brown and the seeds inside have turned dark in color, indicating that they are fully mature.
How to Collect Calendula Seeds?
Prepare the Tools: Gather a pair of scissors or pruning shears and a paper bag or envelope.
Select the Seeds: Choose flower heads with the darkest, mature seeds for collection.
Harvest the Seeds: Use the scissors or pruning shears to snip off the dried flower heads, making sure to leave a bit of stem attached.
Extract the Seeds: Place the harvested flower heads in a paper bag or envelope and shake them to release the seeds. Discard the remaining flower debris.
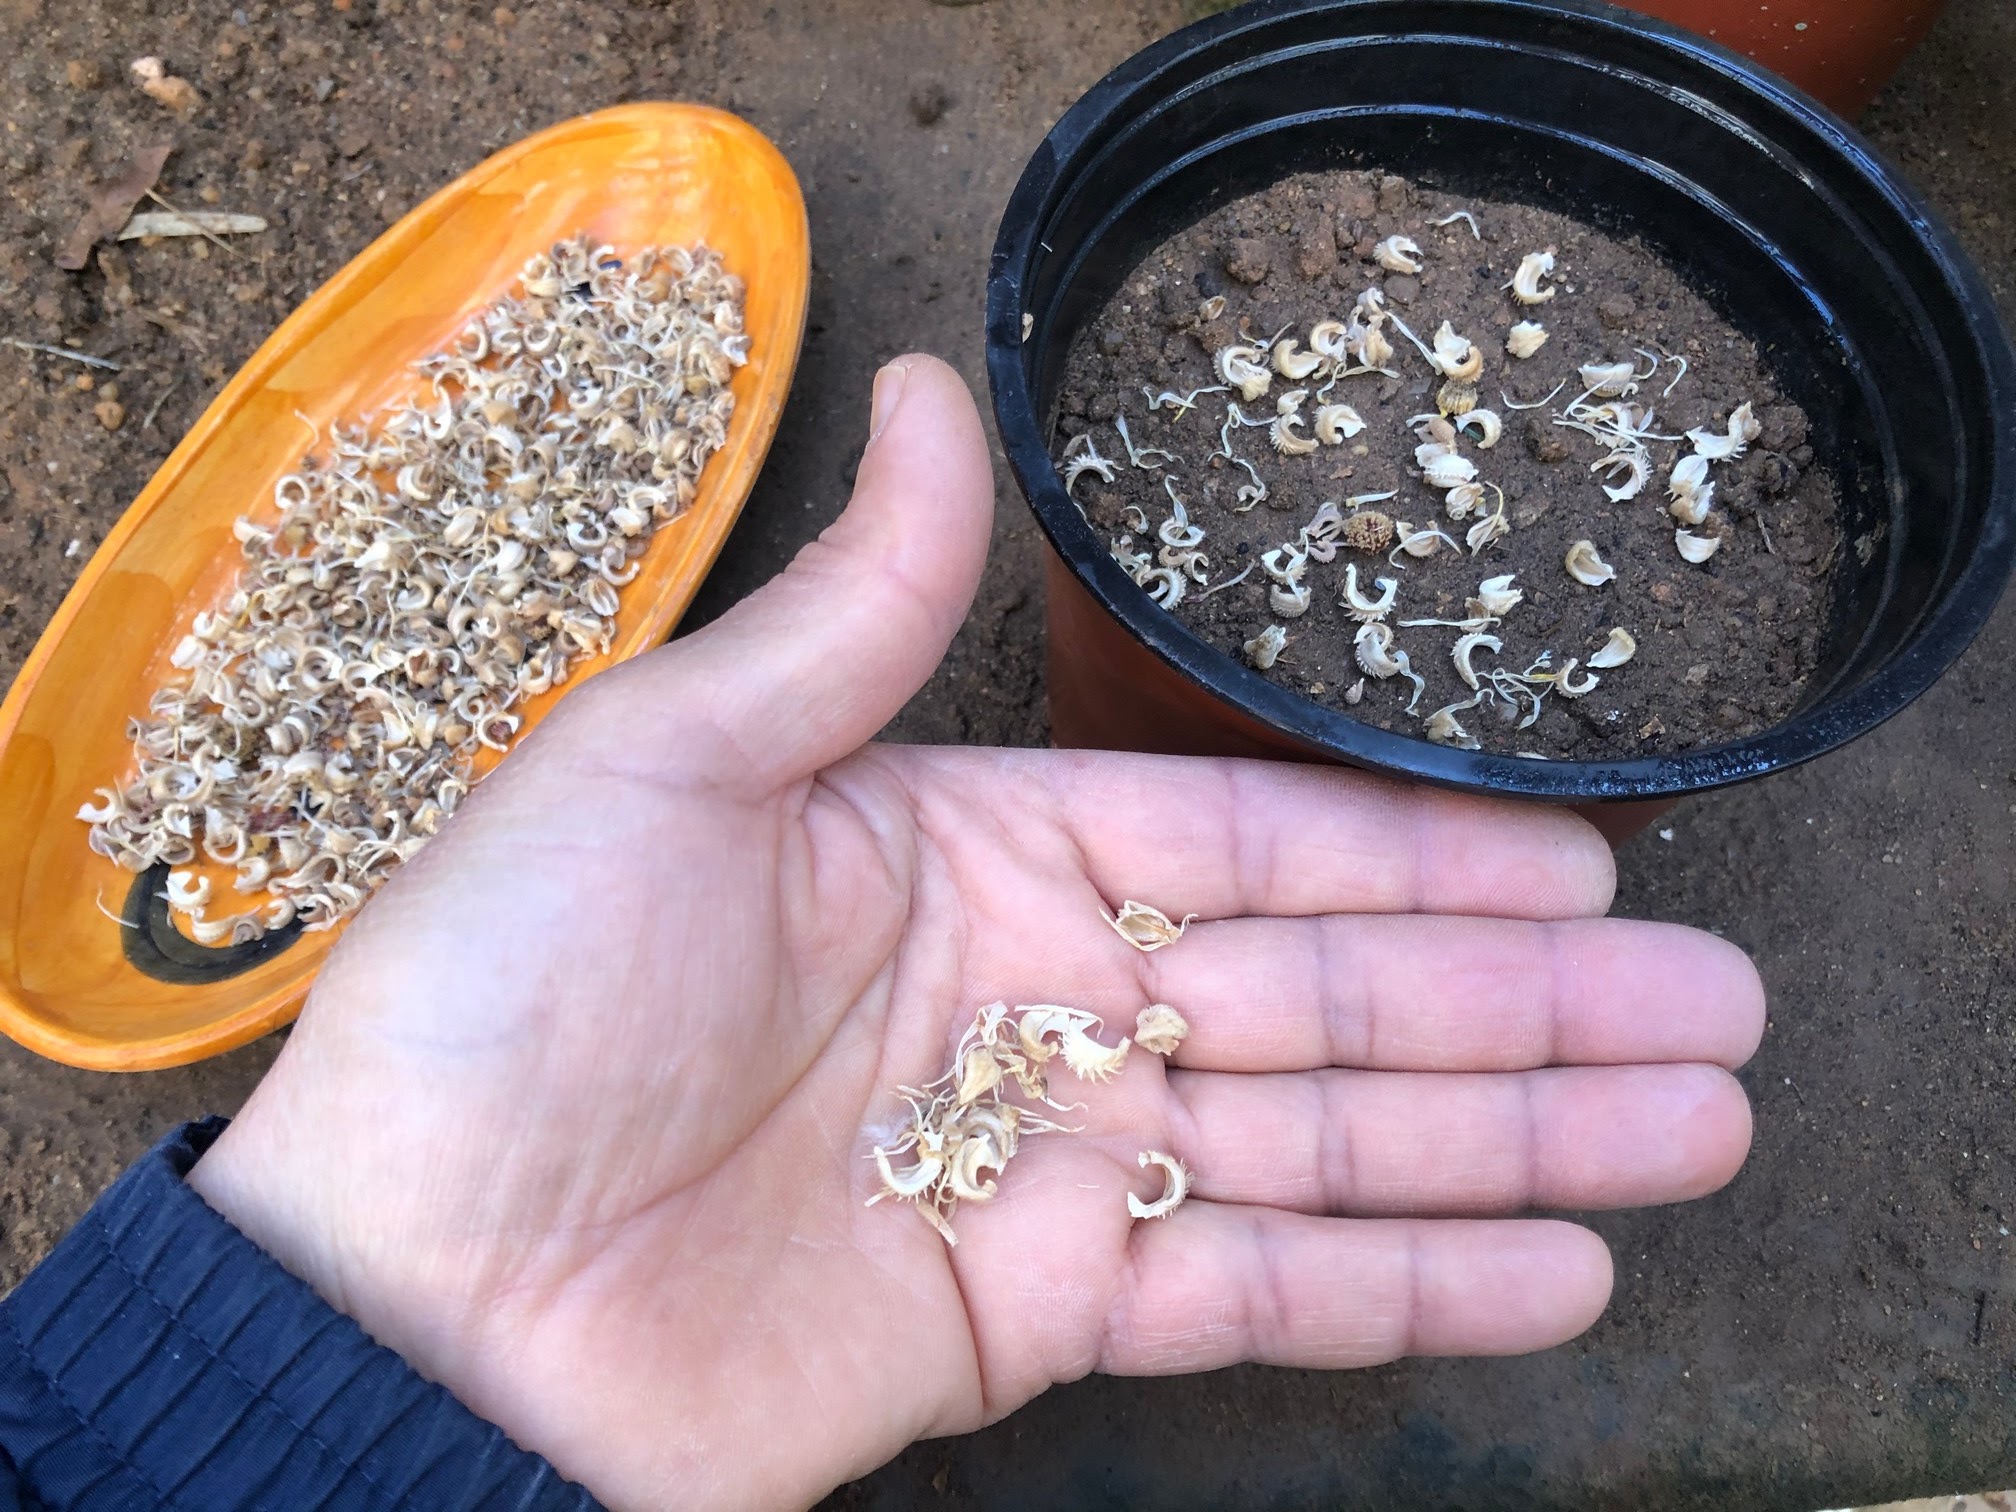
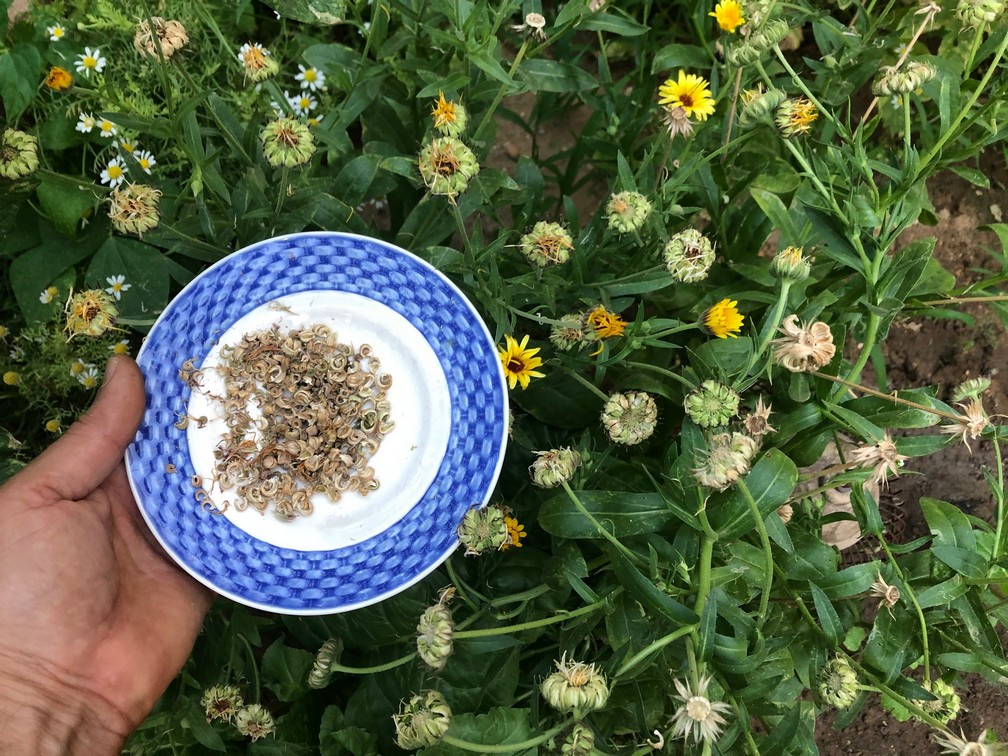
My Calendula Seeds Collecting Simple Tip!!!
I gently use my thumb to knock the dried seeds off of the flower head and put them onto a small plate, or container.
Storing Calendula Seeds
Dry the Seeds: Spread the extracted seeds in a single layer on a paper towel or plate and let them air dry for about a week. Ensure they are fully dry before storage to prevent mold.
Storage Container: Once dry, transfer the seeds to a clean, dry glass jar or an airtight container.
Labeling: Label the container with the date of collection and the seed variety.
Storage Conditions: Store the container in a cool, dark, and dry place to maintain seed viability.
Long-Term Storage: For long-term storage, consider placing the sealed container in the refrigerator.
By following these guidelines, you can effectively collect and store calendula seeds for future planting, ensuring a beautiful and bountiful supply of this delightful herb.
Watch: When and How To Collect and Store Calendula Seeds
Conclusion
Embrace the joy of container gardening with calendula and unlock a world of beauty, versatility, and convenience right at your fingertips. Whether you have a small balcony, a cozy patio, or a bustling urban oasis, calendula in containers offers a vibrant burst of color, herbal benefits, and gardening creativity.
Share your love for growing calendula in containers by liking, commenting, and sharing your experiences with others. Let's inspire each other to cultivate green spaces, nurture plant life, and bask in the simple pleasure of watching nature bloom right before our eyes.
Join the conversation, showcase your container gardening prowess, and spread the word about the wonders of growing calendula in containers. Together, let's cultivate beauty, positivity, and a flourishing community of plant enthusiasts. Happy gardening! 🌼💚
Like, comment, and share if you're ready to embark on a calendula container gardening adventure!
FAQs
How should I look after calendula plants in containers?
To maintain healthy calendula plants indoors, plant calendula seeds directly into pots during spring or fall. Use organic potting soil that allows for good drainage. Fertilize your plants to provide necessary nutrients and water them on a regular basis to keep the soil evenly moist.
What is the correct way to sow calendula seedlings?
Calendula can be easily propagated from seeds. In the spring, plant the seeds about ¼ inch deep. Once the seedlings have emerged, thin them out so that they are spaced 8 to 12 inches apart. These plants typically grow between 8 to 24 inches in height and thrive with consistent watering. When the plants reach full bloom, harvest the flower heads, which can be used either fresh or dried.
Is it beneficial to pinch calendula seedlings?
Yes, when your calendula plants have grown several inches tall, it's beneficial to pinch off the vegetative buds. This encourages the plants to become bushier. For optimal flowering, avoid over-fertilizing and provide moderate watering. Regularly deadheading, or removing spent flowers, will promote continuous blooming. If flowers are left on the plant, it may result in self-sowing.
At what time should I move calendula seedlings outdoors?
The timing for transplanting calendula seedlings outdoors depends on your climate zone. In Zone 5 or colder, move the seedlings to your garden one to two weeks before the last expected spring frost. For those in Zones 5 to 6, plant the seeds outside after the soil temperature has reached at least 60°F. In warmer regions, Zones 7 to 10, sow seeds directly in the garden during the fall season.
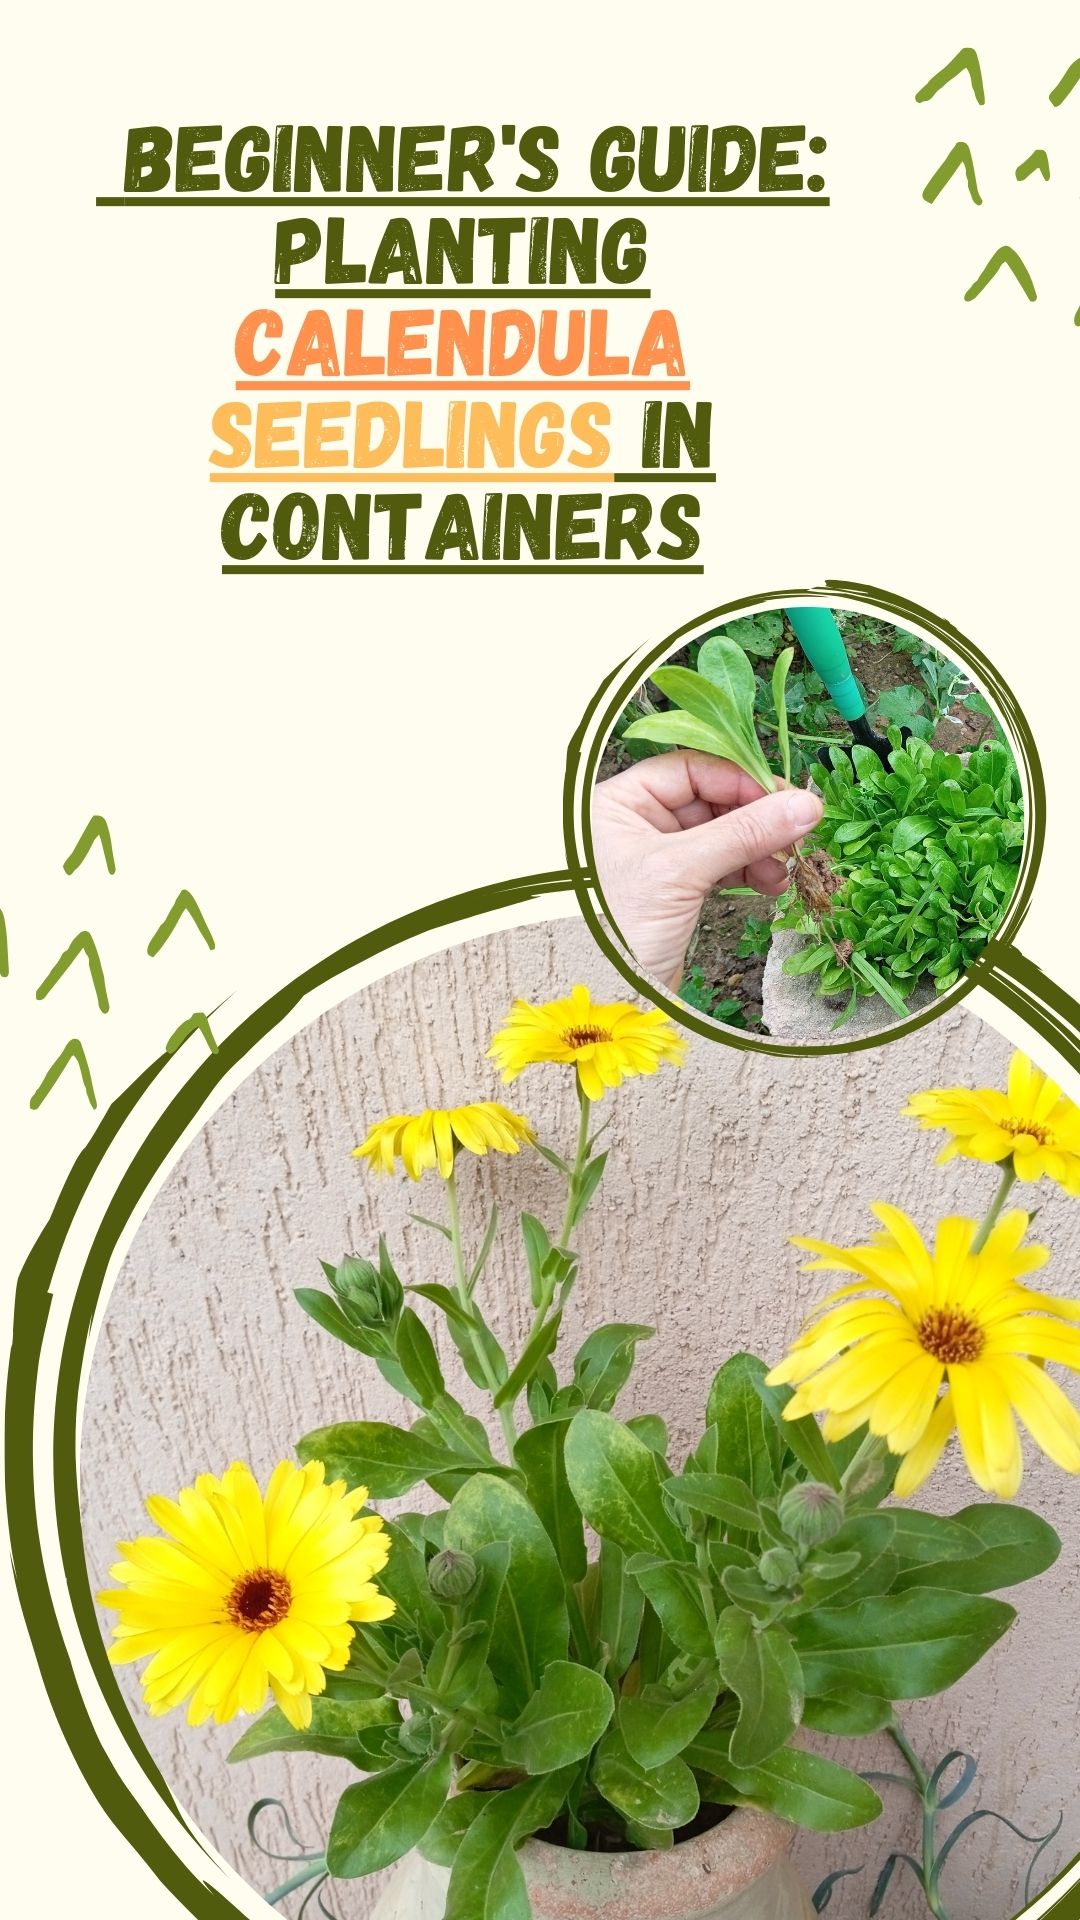
Like This Post? Pin it for Later!
Want to read more:
Also, some great books on calendula plant !
Affiliate Disclosure: In transparency and compliance with legal guidelines, please be aware that some of the links on this site are affiliate links. These are carefully chosen products that I have personally used, tested, and genuinely recommend. When you click and make a purchase through these links, I may earn a small commission, at no additional cost to you. This commission helps support the maintenance of this site, allowing me to continue providing valuable content and recommendations. Rest assured, my priority is to offer authentic and reliable information, and I only affiliate with products that align with the values and standards I uphold. Your trust means everything to me, and I appreciate your support. If you have any questions or concerns, please feel free to reach out. Thank you for being a valued part of our community!


