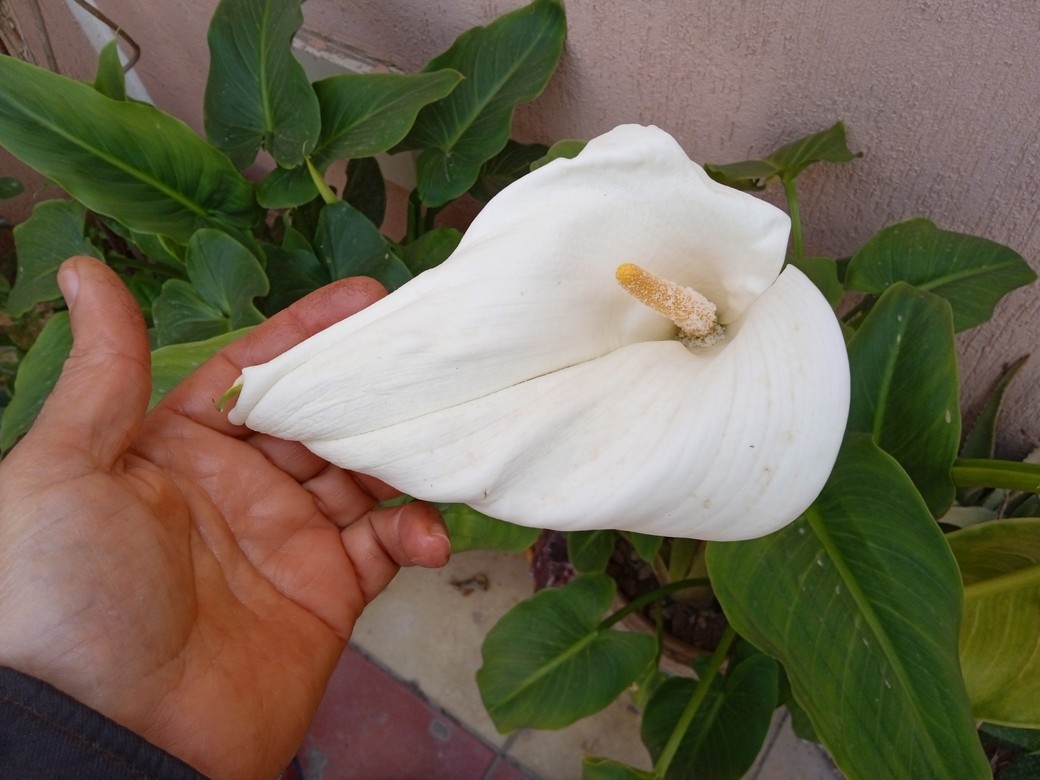
Calla lilies, with their elegant and unique trumpet-shaped blooms, have captured the hearts of gardeners and flower enthusiasts around the world. These captivating flowers are known for their stunning appearance, vibrant colors, and delicate charm. Whether you're a seasoned gardener or a beginner looking to add a touch of elegance to your garden, learning how to grow and care for calla lilies will undoubtedly enrich your gardening experience. In this comprehensive guide, we'll explore the fascinating world of calla lilies, sharing tips and insights on how to cultivate and nurture these beautiful flowers to perfection.
Understanding Calla Lilies
Before diving into the nitty-gritty of growing and caring for calla lilies, let's start by understanding these remarkable flowers.
The Botanical Insight:
Before getting into the specifics of how to grow and care for Calla lilies, it is important to know their history and meaning. Calla lilies, or Zantedeschia as they are scientifically called, are native to South Africa. The word "Calla" comes from the Greek word meaning "beautiful," which makes sense given how beautiful and graceful these flowers are.
Calla Lily Varieties
Planting Your Calla Lilies
In this section, we'll delve into the details of planting your calla lilies, helping you get your garden off to a great start.
Choose the Right Location:
Calla lilies thrive in well-drained, rich, and slightly acidic soil. Select a spot with partial sunlight, as they prefer filtered light to direct sun.
Planting Depth and Spacing:
Plant calla lily rhizomes about 2-3 inches deep, with a spacing of around 12 inches between each rhizome. This allows ample room for their roots to spread and develop.
Caring for Your Calla Lilies
To keep your calla lilies healthy and blooming, you need to provide them with proper care.
Watering:
Calla lilies require consistent moisture. Keep the soil evenly moist but not waterlogged. Water them deeply, providing about an inch of water per week.
Fertilizing:
Feed your calla lilies with a balanced, all-purpose fertilizer every 4–6 weeks during the growing season (spring to early fall). This will help them produce vibrant blooms.
Mulching:
Apply a layer of organic mulch to help retain soil moisture, regulate temperature, and suppress weeds. This will also protect the rhizomes during colder months.
Overcoming Challenges
Growing calla lilies can be a rewarding experience, but it comes with its fair share of challenges.
Pests and Diseases:
Be vigilant for common pests like aphids, spider mites, and slugs. Apply natural or chemical remedies when necessary. Fungal diseases can also be a concern, so ensure good air circulation.
Winter Care:
In regions with cold winters, calla lilies are typically not cold-hardy. You may need to dig up the rhizomes and store them indoors during the winter months to protect them from frost.
Propagation
Once your calla lilies are established, you might want to propagate them and ensure their long-term health.
Watch Blooms of Elegance: Mastering Calla Lily Transplanting in Single Pots Video
Deadheading:
To encourage continuous flowering, remove spent blooms by cutting them back to the base of the stem. This redirects energy to the growth of new blooms.
The Elegance of Calla Lilies
As your calla lilies grow and flourish, you'll come to appreciate their unique beauty and elegance. These stunning flowers have a timeless appeal that adds a touch of sophistication to any garden or floral arrangement.
Calla lilies are not just ordinary flowers; they are a symbol of elegance, purity, and sophistication. By following the tips and guidelines presented in this guide, you can experience the joy of nurturing these captivating blossoms in your garden. From planting to caring for them, and from overcoming challenges to propagating and maintaining them, your journey with calla lilies will be an enchanting and rewarding one. So, go ahead, embark on this floral adventure, and let the beauty of calla lilies grace your garden with timeless elegance.
🛒 Calla Lily Seeds Beautiful Flowers Easy to Grow.
Pin for later!


.jpg)


