Peas, esteemed for their delightful taste and versatility in the kitchen, have long been a garden favorite, captivating the attention of gardeners with their sweet pods and vibrant greenery. However, the journey from seed to harvest can be marked by frustration, particularly when faced with the sluggish pace of germination and the looming risk of seed rotting. In this context, finding effective strategies to overcome these challenges becomes crucial for a successful and rewarding pea-growing experience. In this guide, we explore a game-changing technique—pre-sprouting peas—that not only accelerates germination but also mitigates the risks associated with slow seed emergence. Let's delve into the world of pre-sprouting and unlock the secrets to a thriving pea harvest.
If you are sick of waiting for your pea seeds to sprout and turn into gorgeous plants, this article will explain how to do it step-by-step and offer some professional advice to make sure your planting experience goes well. Pre-sprouting is a straightforward but effective technique that can drastically lower the likelihood of rotting peas and speed up the germination process.
An important phase in the life cycle of plants, germination is the process by which a dormant seed becomes a new plant by activating its metabolic processes and initiating the processes that lead to the transformation of the seed into a seedling and ultimately into a mature plant.
Water Absorption:
The first step in germination is the absorption of water by the seed. This activates enzymes within the seed and causes it to swell.
Initiation of Metabolic Processes:
As water is absorbed, the metabolic processes within the seed are initiated. Enzymes become active, breaking down stored nutrients such as starches and proteins into simpler forms that can be used by the emerging seedling.
Radicle Emergence:
The radicle, which is the embryonic root of the plant, emerges from the seed. It is the first part of the seedling to emerge and grows downward into the soil, anchoring the plant and absorbing water and nutrients.
Cotyledon Unfolding:
The cotyledons, which are the seed leaves, unfold and become exposed to light. They play a crucial role in providing nutrients to the developing seedling until true leaves form and photosynthesis begins.
Shoot Emergence:
The shoot, comprising the stem and leaves, emerges above the soil. The first set of true leaves develops, and the seedling continues to grow and mature.
Germination is significant because it signifies the change from a dormant seed to an actively growing plant. It uses the energy that the seed has stored to power the seedling's initial growth until it can perform photosynthesis and generate its own nourishment. In the case of pea seeds, germination usually takes 7 to 14 days, though this can vary based on temperature, soil moisture, and seed quality. Pea seeds often germinate well in cool soil conditions, and it can take up to two weeks for them to finish the germination process. Providing the right environmental conditions, such as adequate moisture and suitable temperature, is crucial for successful pea seed germination and subsequent plant growth.
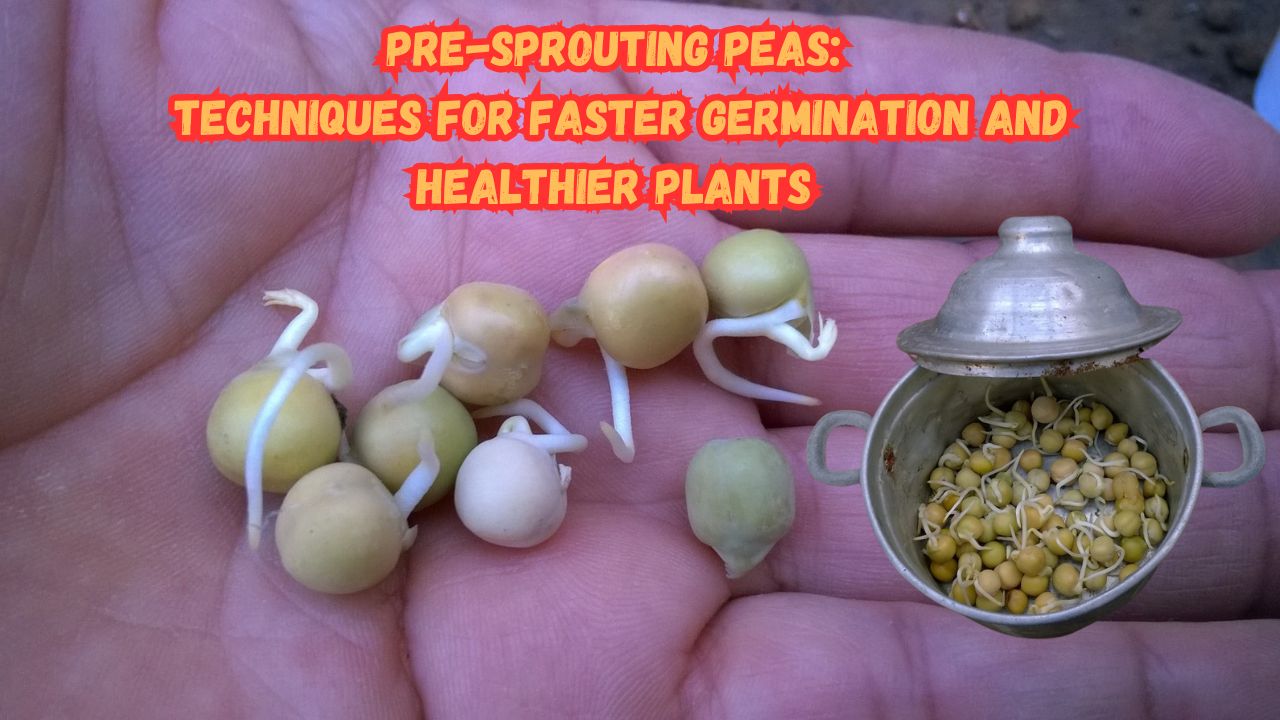
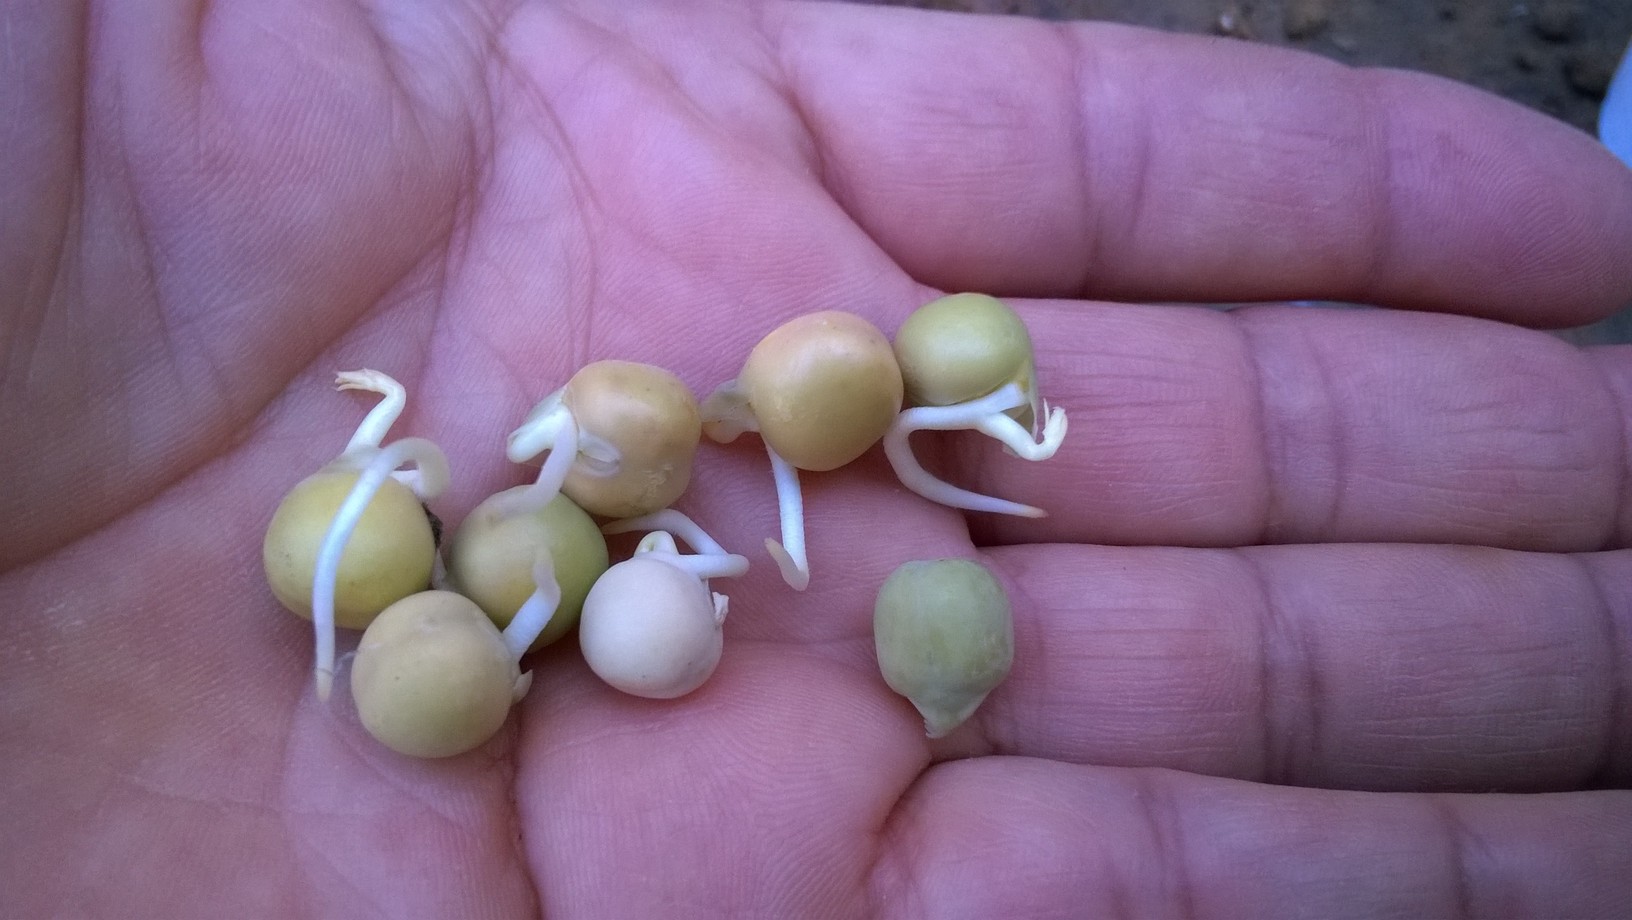
Pre-sprouting the peas before sowing them directly in the garden can be a game-changer. By initiating the growth of a root before planting, pre-sprouting helps the seeds absorb water more efficiently and reduces the risk of rotting in cool and damp soil. In fact, pre-sprouted peas often germinate about 10 days faster than those directly sown in the garden!
To begin the pre-sprouting process, you'll need a double layer of wet paper towels. Moisten the paper towels thoroughly, ensuring they are damp but not dripping with water. Take care not to oversaturate the towels as excessive moisture can lead to seed rot.
When your damp paper towels are ready, spread the peas out on one half of the towel in a single layer, making care to leave space between each seed to promote healthy germination.
Now that you've arranged the peas, fold the other half of the paper towel over them. This creates a cozy and moist environment that encourages the seeds to sprout.
Place the folded paper towel with the peas in a warm location, such as near a window or on top of a seedling heat mat. Be patient and give the seeds a couple of days to work their magic. You'll soon notice tiny roots emerging from the seeds.
Planting pre-sprouted pea seeds, sometimes referred to as pre-germinated or pre-sprouted seeds, can have a number of benefits, including more rapid and consistent germination. The following is a guidance on how to plant pre-sprouted pea seeds in your garden:
By following these planting techniques, you can maximize the benefits of using pre-sprouted pea seeds and enjoy a more efficient and successful gardening experience.
Once the roots have sprouted, it's time to transfer the pre-sprouted peas into the soil. Whether you're planting them in a row or around a trellis, the planting process remains similar.
If you're planting peas in a row, dig a 1-inch deep furrow along the desired area. Place the pre-sprouted peas in the bottom of the furrow, spacing them about an inch apart. Ensure the roots are facing downward.
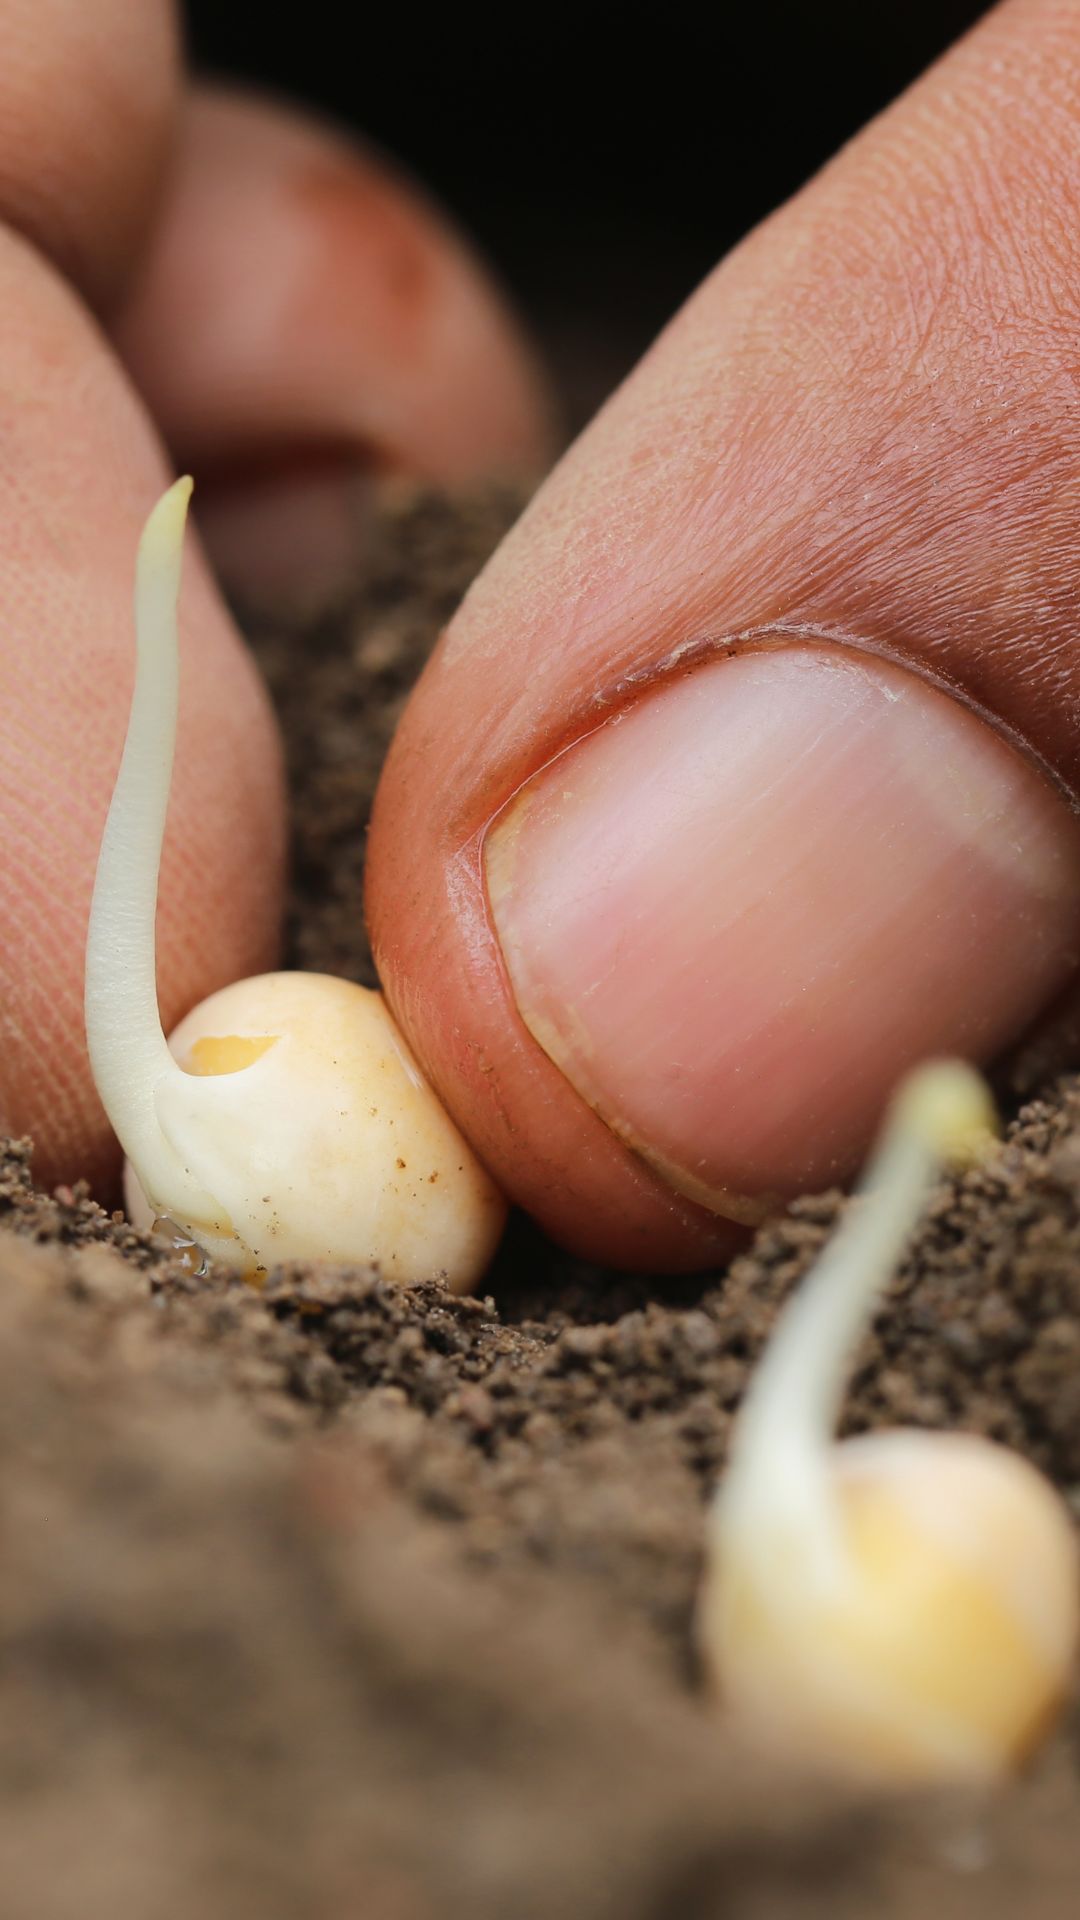
For planting around a trellis, create individual holes about an inch deep and an inch apart. You can use a piece of bamboo or your finger to make these holes. Gently place the pre-sprouted pea in each hole, again with the roots facing downward.
When handling the pre-sprouted peas, it's essential to be gentle with them. The little roots can snap off easily, which can hinder their growth. Take care not to damage the delicate roots during the planting process.
After placing the pre-sprouted peas in their designated spots, carefully backfill the holes or furrow with soil. Ensure that the peas are covered adequately but not buried too deeply. Once the backfilling is complete, water the peas thoroughly, giving them a good drink.
While waiting for the peas to emerge, it's crucial to monitor their water needs. In drier climates, only water the peas between planting and germination if the soil dries down to the bottom of your second knuckle before the seeds germinate. Overwatering can lead to seed rot, so strike a balance and ensure the soil remains moist but not waterlogged.
Expert Tip: Consider using a moisture meter to accurately gauge the soil's moisture levels and prevent any potential water-related issues.
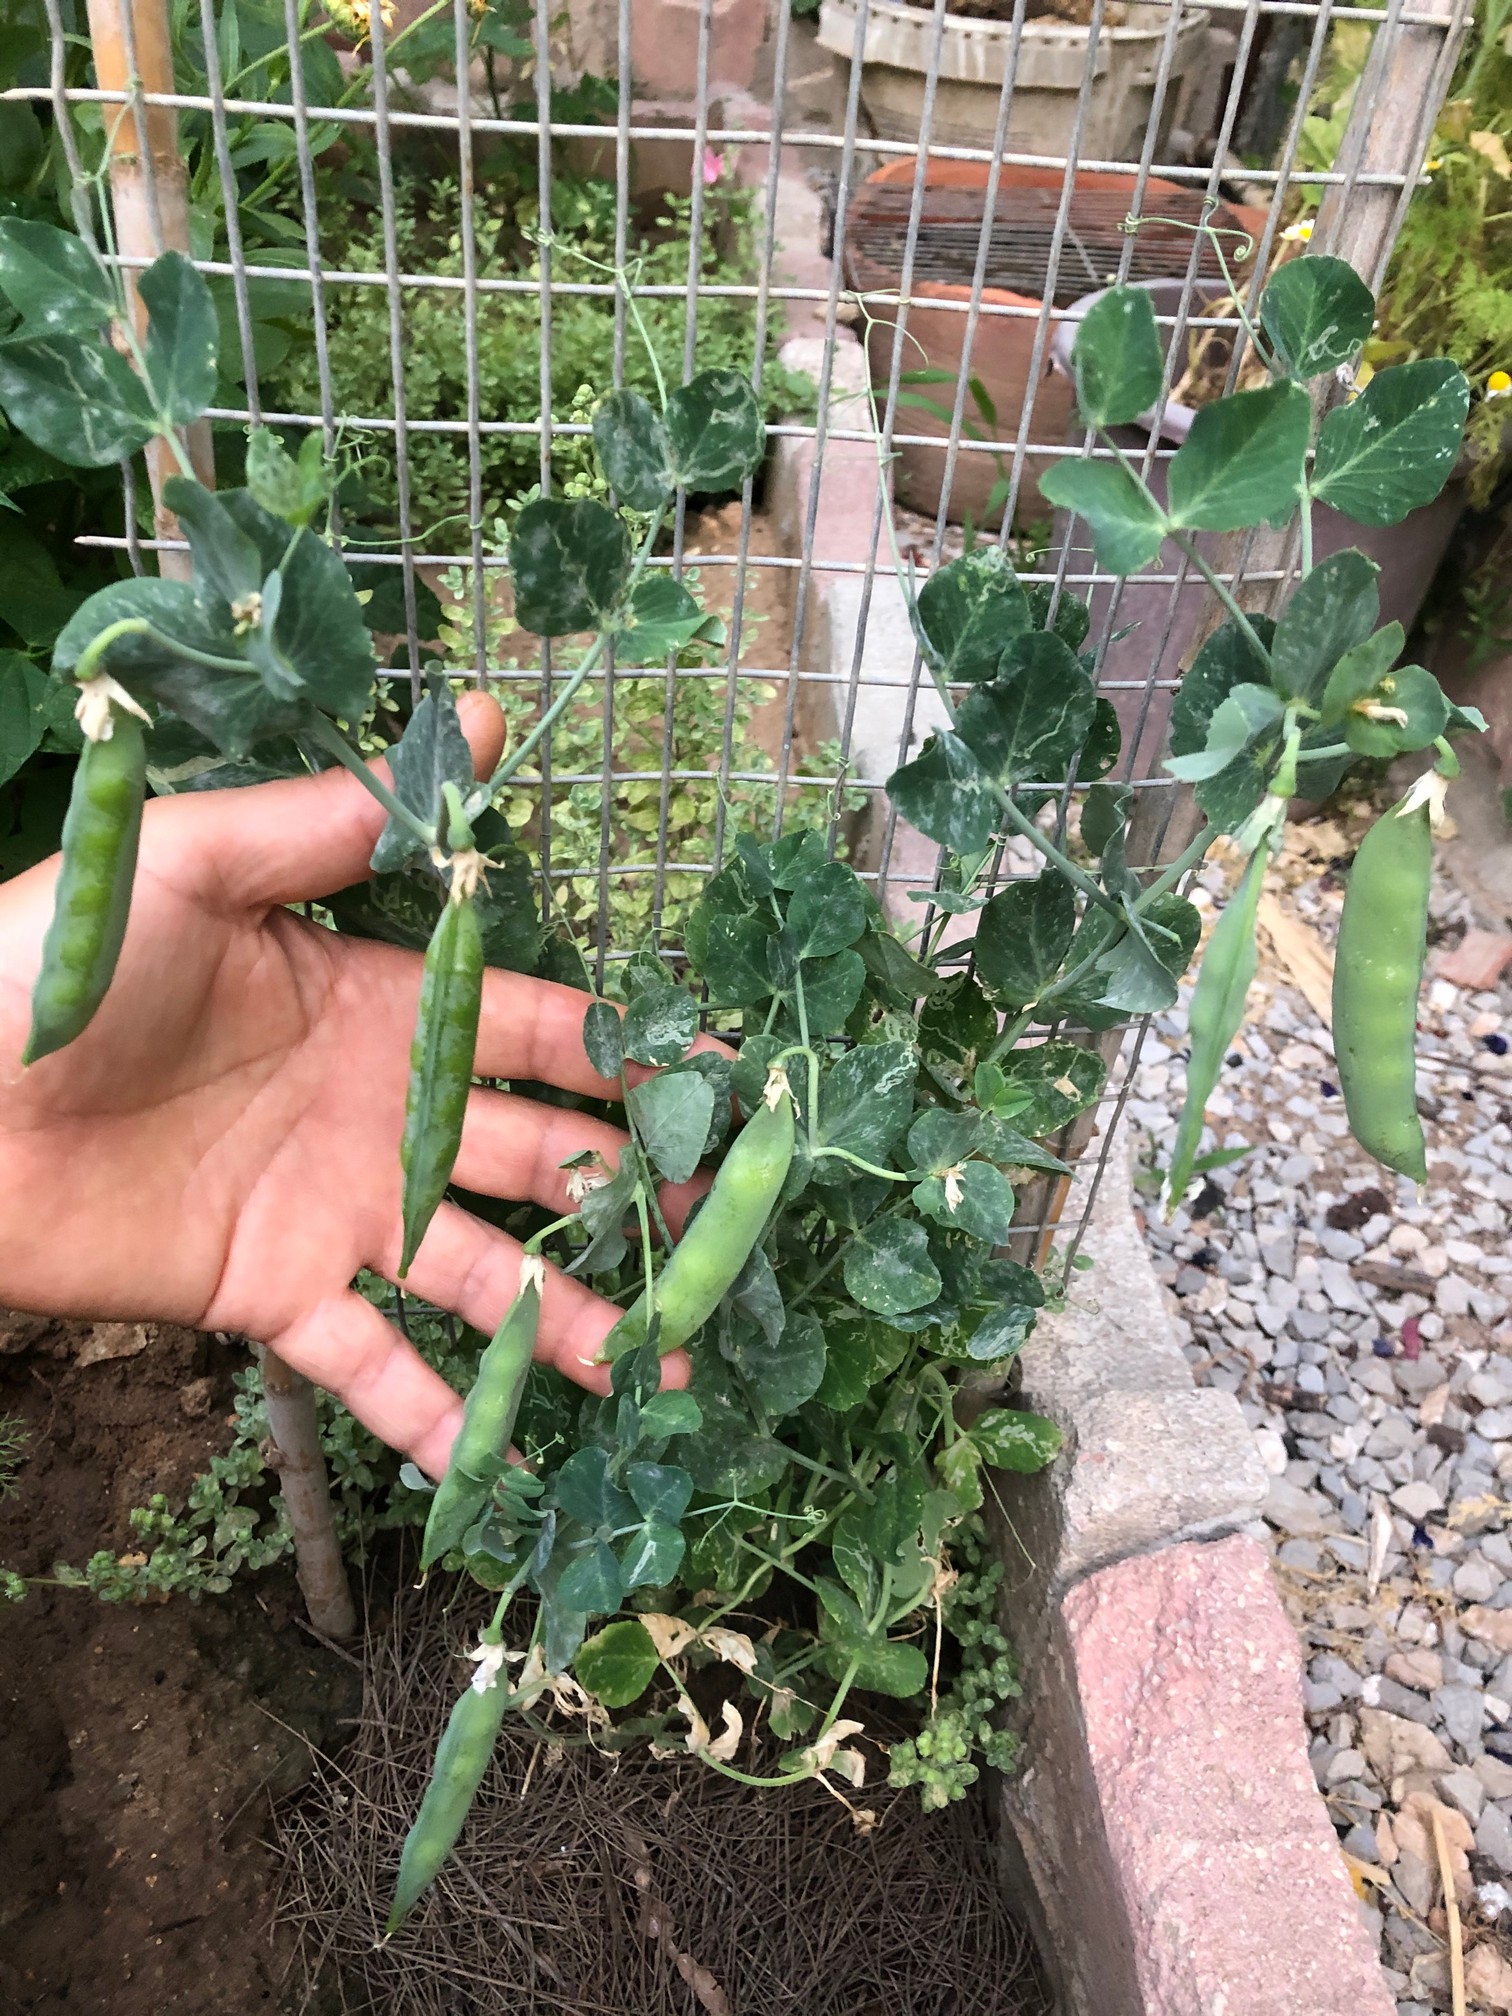
Pre-sprouting your pea seeds can be a game-changing technique for successful planting. By giving your seeds a head start and helping them develop a root system, you can significantly reduce the chance of rotting peas and accelerate their germination process. You will quickly be rewarded with healthier, faster-growing pea plants if you follow the step-by-step instructions provided in this article!
Pre-sprouting pea seeds offers several notable benefits for successful germination and plant growth:
Accelerated Germination:
When compared to non-pre-sprouted seeds, pre-sprouted seeds show quicker emergence from the soil, giving them a head start in the developing process.
Enhanced Success Rate:
The visual confirmation of sprouting allows gardeners to select viable seeds, reducing the risk of failed germination and ensuring a higher success rate.
Extended Growing Season:
By using pre-sprouted seeds, gardeners can extend the growing season, enjoying fresh peas for a more prolonged period, particularly in regions with shorter growing seasons.
Optimized Growing Conditions:
Pre-sprouted seeds can be planted in ideal conditions, allowing for better control over factors like moisture, sunlight, and nutrient availability, optimizing the overall growing environment.
Given these benefits, I encourage fellow gardeners to explore the method of pre-sprouting pea seeds. This approach not only offers a more reliable and efficient germination process but also helps overcome the frustrations and risks associated with traditional seed planting methods. By embracing pre-sprouting, gardeners can enjoy a more successful gardening experience, with healthier and quicker-growing pea plants in their gardens. Try this method to unlock the full potential of your pea harvest and enhance your overall gardening success.
Pin for later!
🛒 Quality pea seeds for growing 🛒
Pea's related video to watch:
Affiliate Disclosure:
In transparency and compliance with legal guidelines, please be aware that some of the links on this site are affiliate links. These are carefully chosen products that I have personally used, tested, and genuinely recommend. When you click and make a purchase through these links, I may earn a small commission, at no additional cost to you.
This commission helps support the maintenance of this site, allowing me to continue providing valuable content and recommendations. Rest assured, my priority is to offer authentic and reliable information, and I only affiliate with products that align with the values and standards I uphold.
Your trust means everything to me, and I appreciate your support. If you have any questions or concerns, please feel free to reach out. Thank you for being a valued part of our community!


