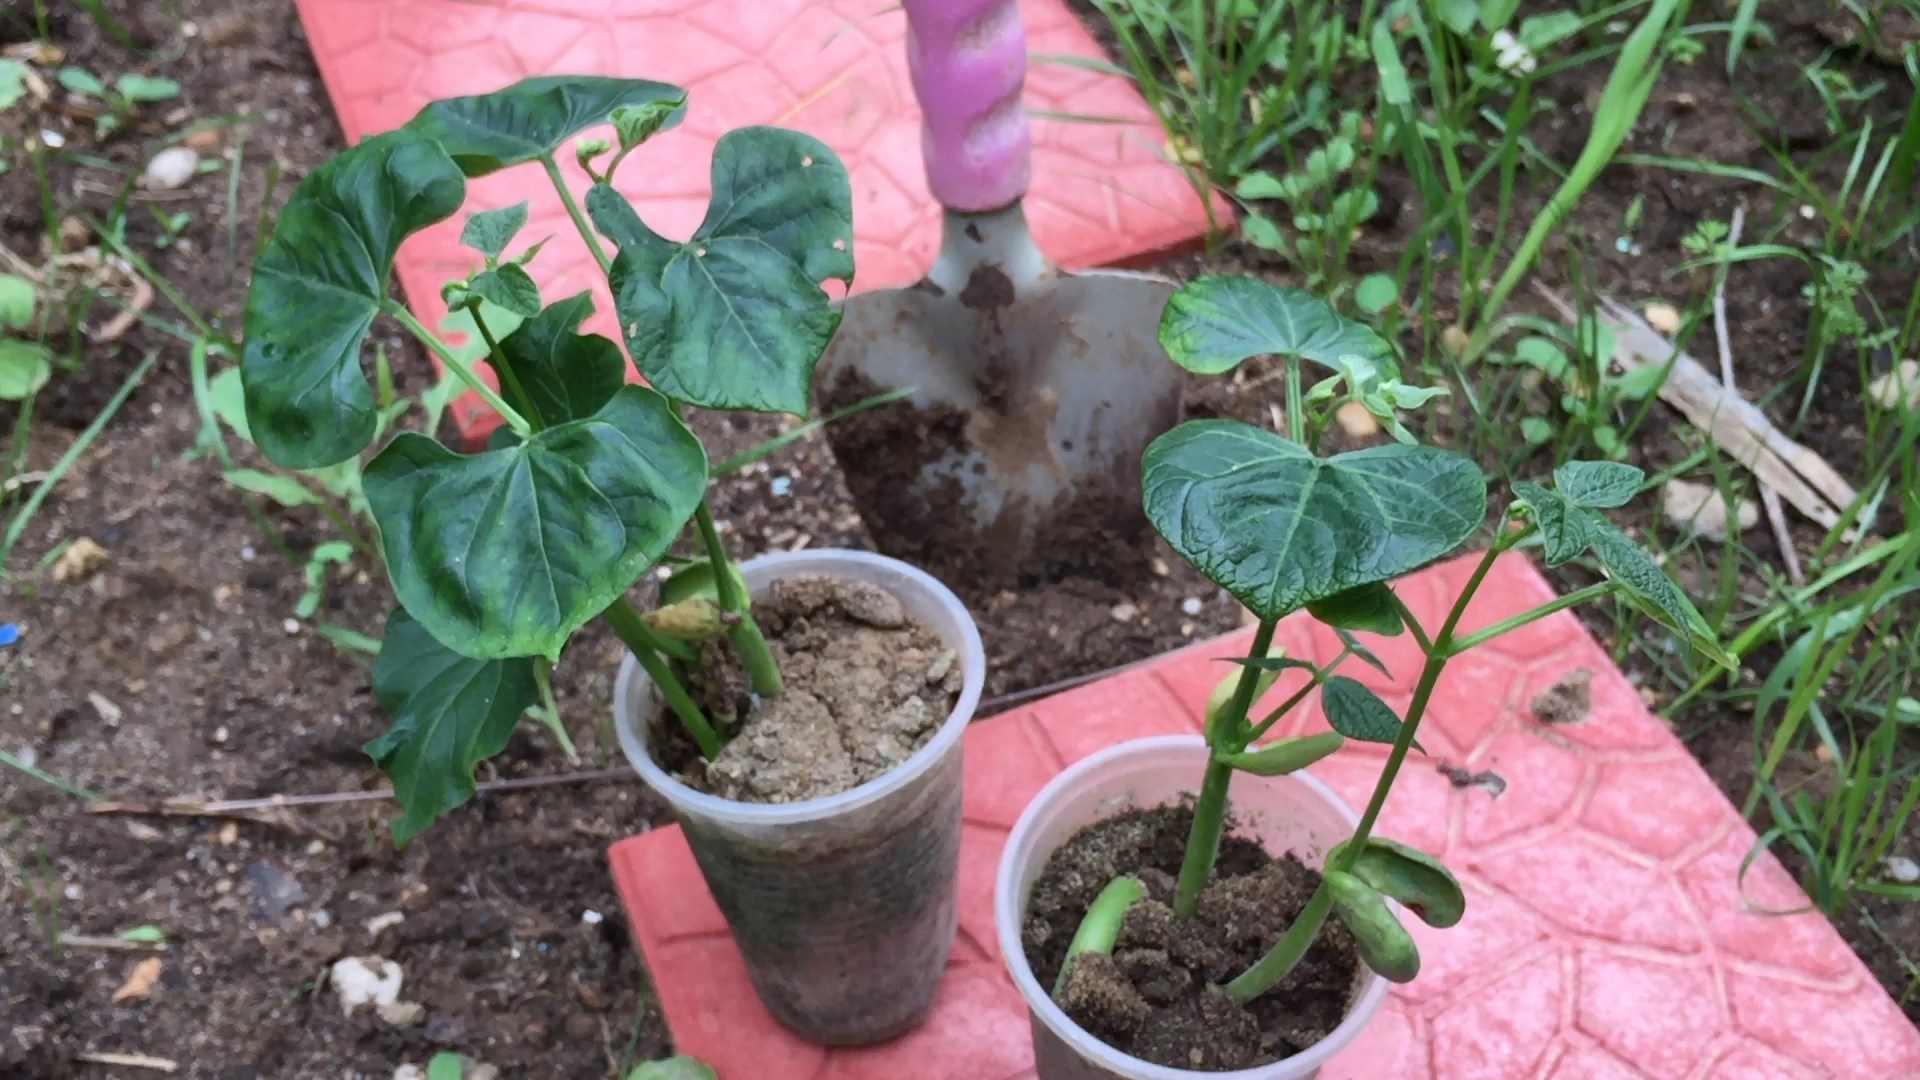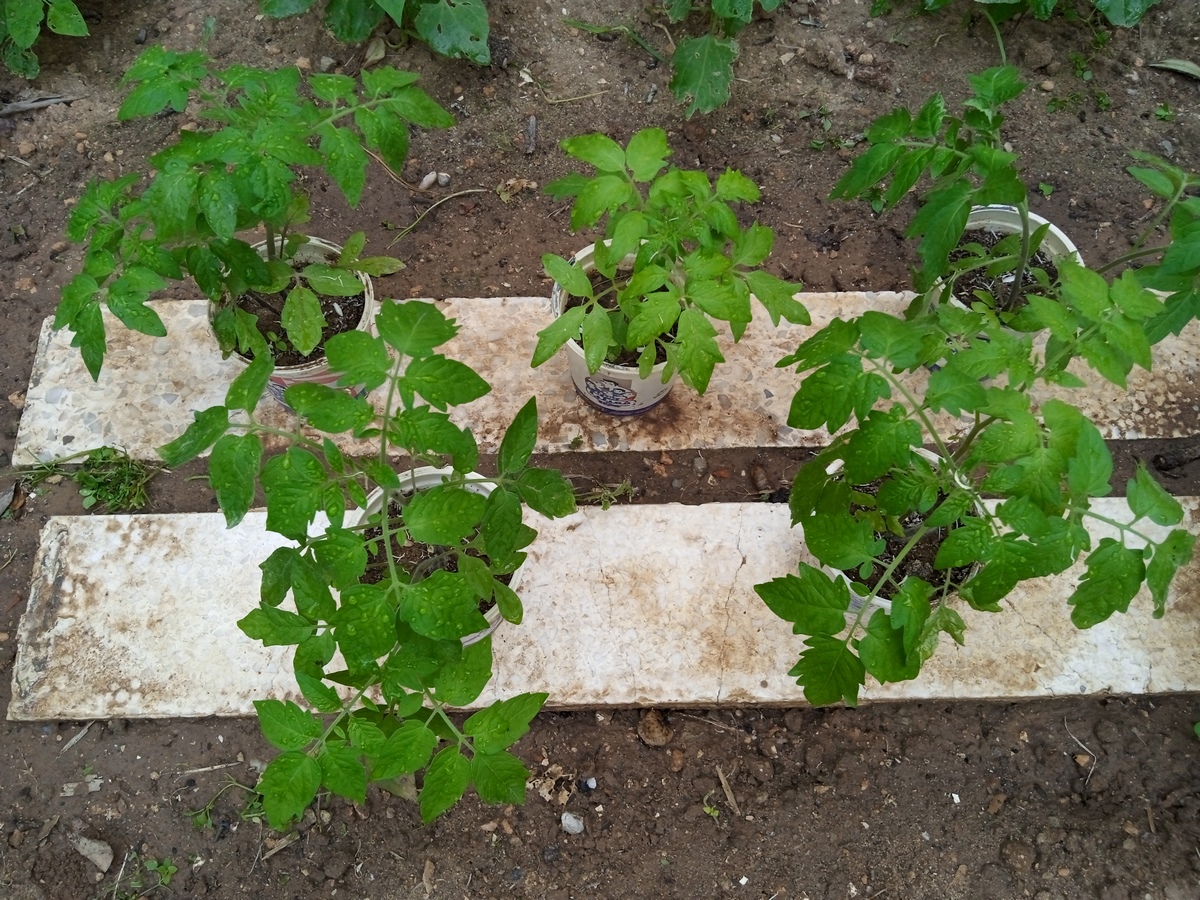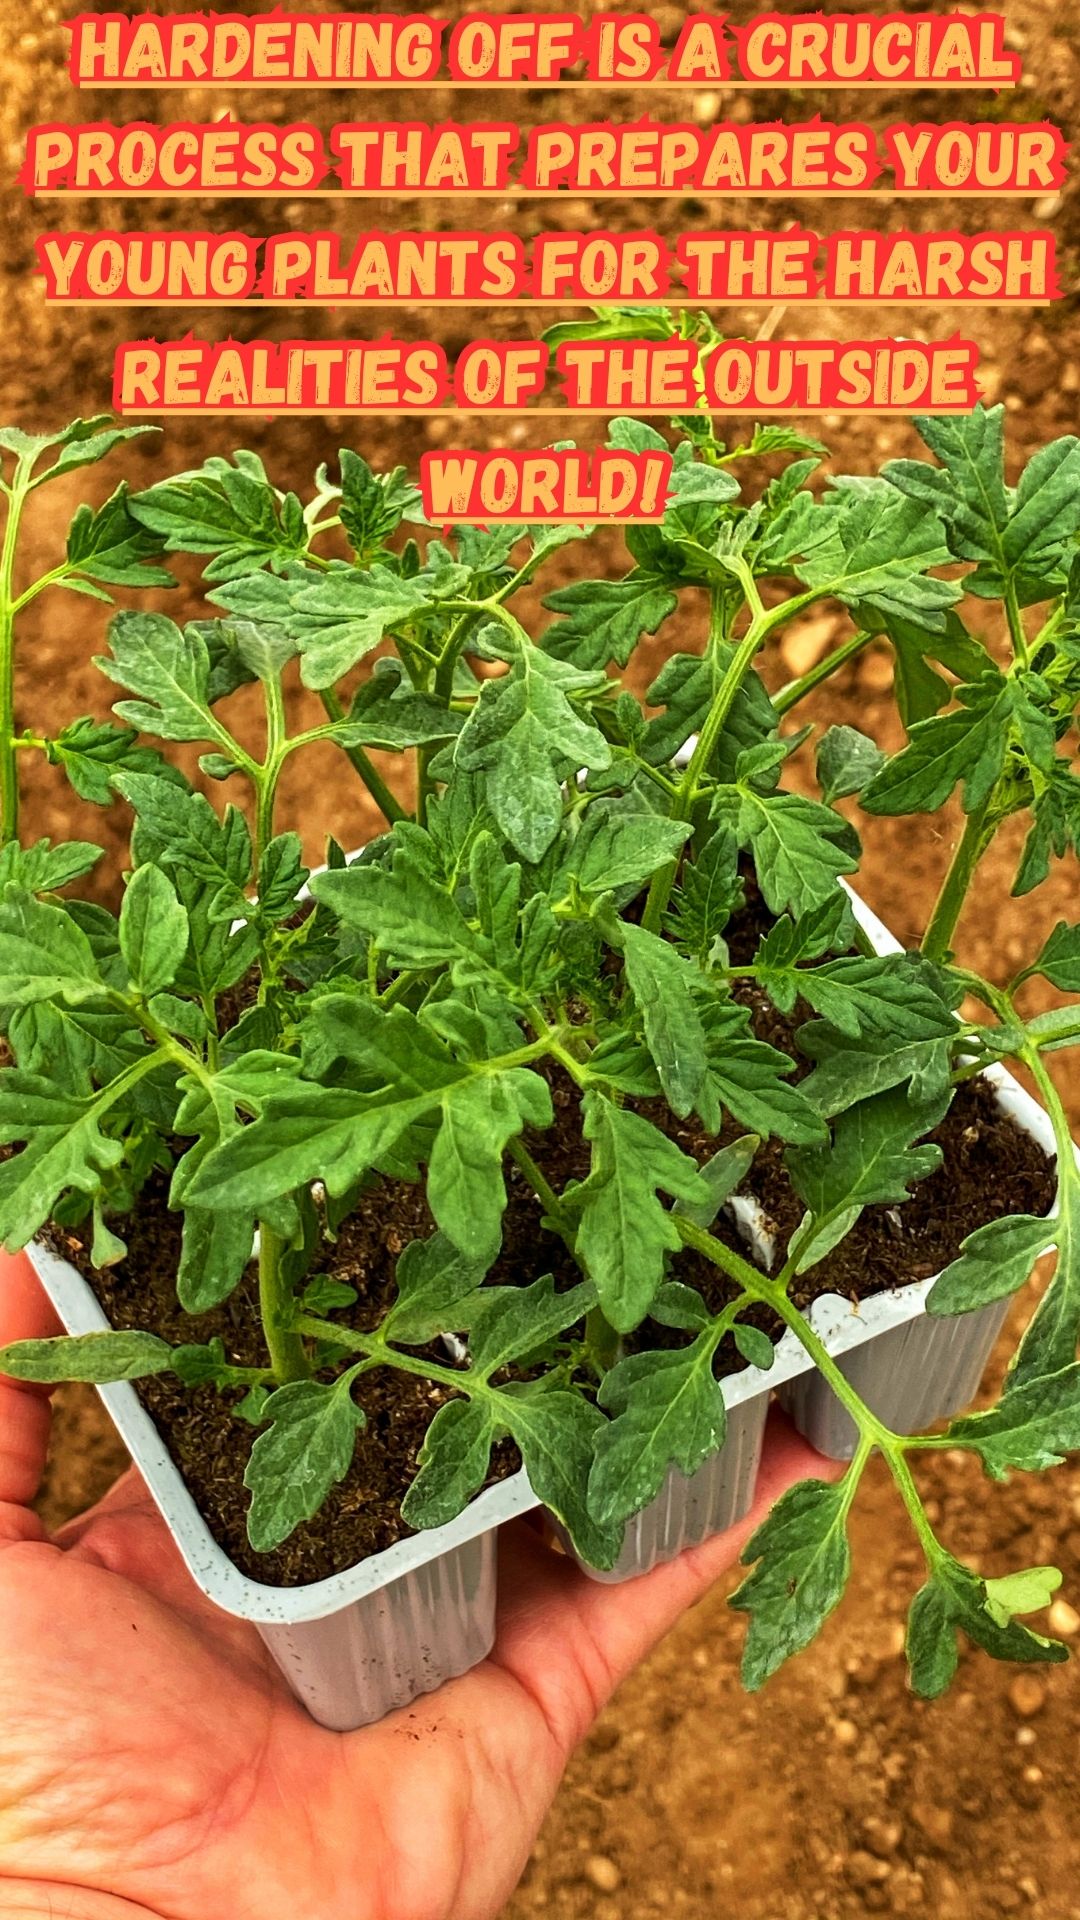
Are you a budding gardener eager to transplant your seedlings into the outdoor garden? Then it's time to learn the art of hardening off seedlings. Hardening off is a crucial process that prepares your young plants for the harsh realities of the outside world. By gradually exposing them to the elements, you help them build strength and resilience. To help you successfully transition your seedlings from the safety of your indoor nursery to the great outdoors, we will walk you through the process of hardening off in this post.
What is hardening off seedlings?
Hardening off seedlings is the process of gradually acclimating your young plants to the outdoor environment before transplanting them into your garden. Grown indoors, seedlings are shielded from harsh weather conditions such as temperature swings, wind, and direct sunlight. By progressively introducing these elements, you can help them develop more resilient stems and leaves, as well as an increased capacity to tolerate environmental stressors.
Why is hardening off seedlings important?
Hardening off is an essential step in the gardening process that significantly increases the chances of seedling survival and overall plant health. When seedlings are abruptly moved from a controlled indoor environment to the outdoor garden, they may go into shock and struggle to adapt. By hardening off your seedlings, you are giving them time to adjust gradually, reducing the risk of transplant shock and ensuring a smoother transition to their new outdoor home.
Understanding the hardening off process
Hardening off seedlings involves exposing them to the outdoor environment in a controlled manner. This process typically takes place over a period of 7 to 10 days, although the duration may vary depending on the plant species and local climate conditions. The key is to gradually introduce your seedlings to the elements, starting with short periods of time outside and gradually increasing exposure over the course of the hardening off period.
The goal is to mimic the natural conditions your seedlings will face in the garden. By increasing their exposure to sunlight, wind, and temperature fluctuations, you help them develop thicker cuticles, stronger stems, and deeper root systems. Additionally, hardening off allows the plants to adjust to differences in humidity and moisture levels, ensuring they are better equipped to handle the challenges of the outdoor environment.
When should you start hardening off seedlings?
Timing is crucial when it comes to hardening off seedlings. Starting too early or too late can have negative consequences for their growth and survival. A general rule of thumb is to begin the hardening off process about a week or two before your average last frost date. This ensures that the risk of frost damage is minimal, and the soil has had a chance to warm up.
To determine your average last frost date, you can consult local gardening resources or use online tools that provide frost data specific to your area. Keep in mind that these dates are not set in stone and can vary from year to year, so it's always a good idea to monitor weather patterns and make adjustments accordingly.
Step-by-step guide to hardening off seedlings
Choose the right time of day: Start by taking your seedlings outside during the mildest part of the day, usually in the late morning or early afternoon. This helps them avoid the cooler temperatures of the early morning or evening and reduces the risk of frost damage.
Start with short exposure periods: Begin by placing your seedlings in a sheltered location, such as a covered porch or under a tree. Leave them outside for only an hour or two, gradually increasing the time each day.
Increase exposure to sunlight: As your seedlings become more accustomed to being outdoors, gradually expose them to more direct sunlight. Start with filtered sunlight and then gradually move them into full sun.
Gradually increase exposure to wind: Wind can be particularly challenging for young seedlings. To help them develop stronger stems, gradually increase their exposure to gentle breezes. You can do this by placing them in a slightly more exposed spot each day.
Monitor temperature fluctuations: Pay attention to temperature changes and adjust accordingly. If the weather forecast predicts a sudden drop in temperature, bring your seedlings indoors or provide them with some protection, such as a row cover or cold frame.
Water appropriately: During the hardening off period, it's important to monitor soil moisture levels closely. Outdoor conditions are typically drier than indoor environments, so you may need to water your seedlings more frequently. However, be careful not to overwater, as this can lead to root rot and other issues.
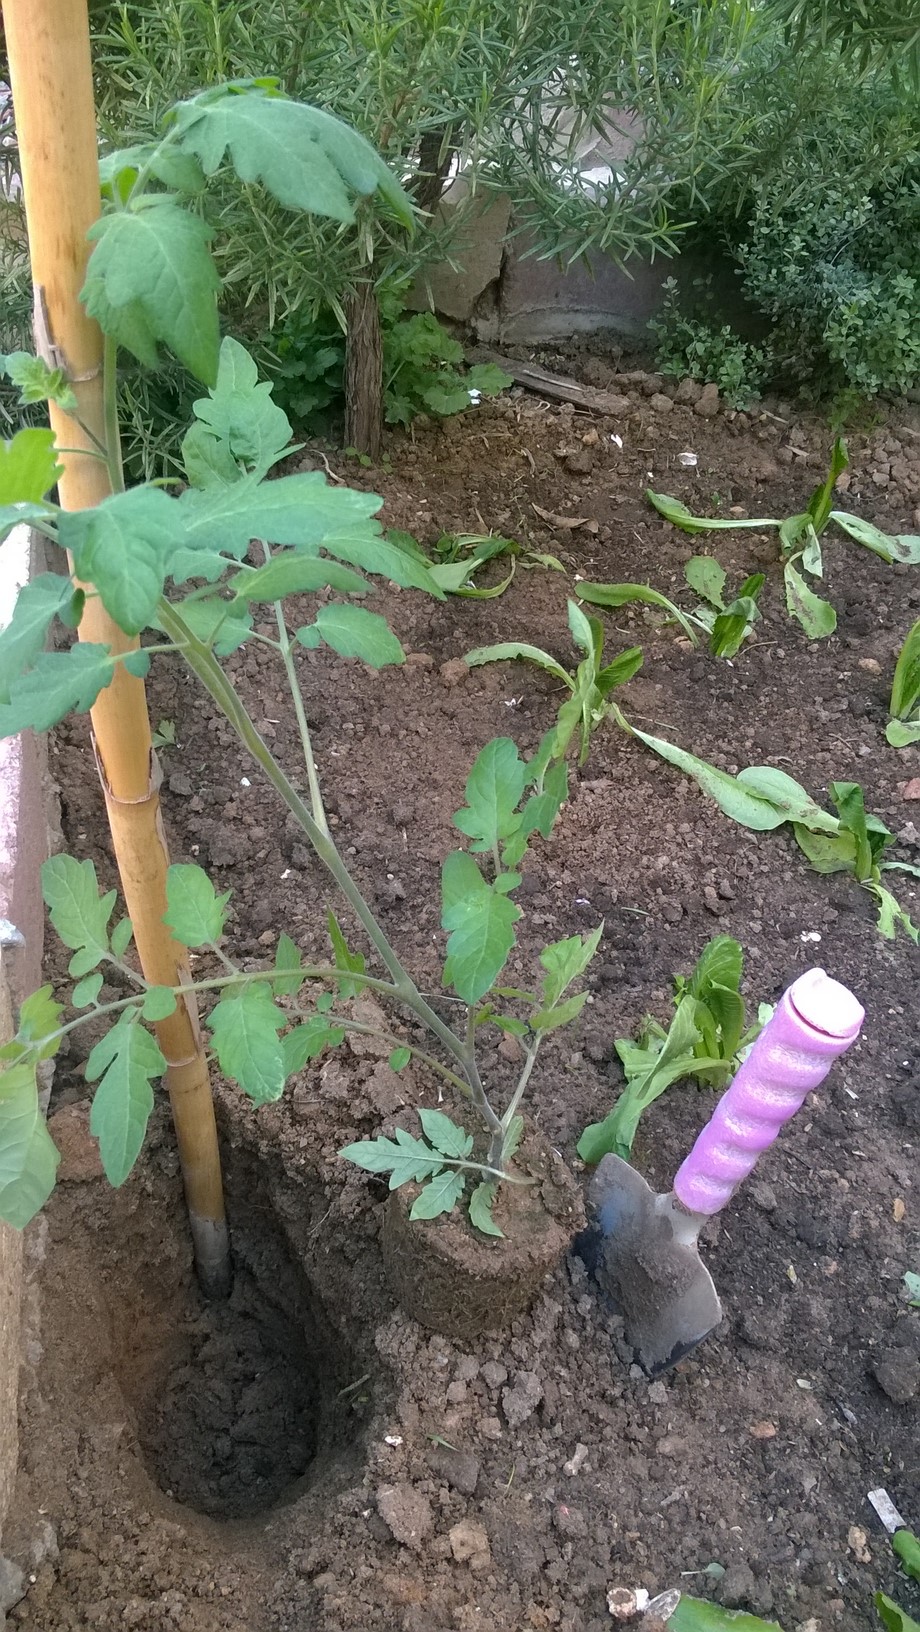
Transplant into the garden: Once your seedlings have successfully completed the hardening off process, it's time to transplant them into your garden. Choose a day when the weather is mild, and the soil is moist but not waterlogged. Dig a hole slightly larger than the root ball of each seedling, gently place them in the hole, and cover with soil. Water thoroughly after transplanting to help the roots establish.
Tips for successful hardening off
Start with healthy seedlings: Healthy seedlings are more likely to survive the hardening off process. Make sure your seedlings are strong, disease-free, and free from pest damage before you begin.
Take it slow: Gradual exposure is key to successful hardening off. Avoid the temptation to rush the process, as this can lead to stress and plant damage. Patience is key.
Protect against pests: As you gradually expose your seedlings to the outdoor environment, keep an eye out for pests such as aphids, slugs, and snails. Use organic pest control methods to protect your plants.
Use shade cloth: If your seedlings are particularly sensitive to direct sunlight, consider using shade cloth to provide some protection during the hardening off process. This can help prevent sunburn and damage from intense sunlight.
Keep an eye on the weather: Weather conditions can change quickly, so it's important to stay informed. Monitor the forecast regularly and adjust your hardening off schedule as needed to avoid extreme conditions.
Common mistakes to avoid during the hardening off process
Skipping the hardening off process: Transplanting seedlings directly from indoors to the garden without hardening them off can result in transplant shock and poor plant performance.
Overexposing seedlings to harsh conditions: Gradual exposure is important, but be cautious not to subject your seedlings to extreme weather conditions too early. Sudden temperature drops, strong winds, and intense sunlight can cause stress and damage.
Underwatering or overwatering: Finding the right balance of moisture during the hardening off process can be challenging. Monitor soil moisture levels closely and adjust watering accordingly.
Neglecting pest control: As your seedlings spend more time outdoors, they become vulnerable to pests. Keep a close eye on your plants and take appropriate measures to prevent pest damage.
Transplanting too soon: Be patient and wait until your seedlings have completed the hardening off process before transplanting them into the garden. Rushing this step can lead to poor plant establishment and reduced growth.
Tools and supplies for hardening off seedlings
Seedling trays or pots: Use seedling trays or pots to start your seedlings indoors. These containers provide a controlled environment for germination and early growth.
Watering can or hose: Ensure you have a reliable watering can or hose to water your seedlings during the hardening off process. Proper hydration is crucial for their overall health and development.
Shade cloth or row cover: If your seedlings require some protection from intense sunlight or cool temperatures, consider using shade cloth or row covers to provide shelter.
Garden labels: To keep track of different plant varieties, use garden labels to mark your seedlings. This helps avoid confusion during the hardening off and transplanting stages.
Garden soil or potting mix: When it's time to transplant your seedlings into the garden, make sure you have high-quality garden soil or potting mix. This ensures optimal nutrient availability for healthy plant growth.
Troubleshooting common issues during hardening off
Yellowing leaves: If your seedlings' leaves start turning yellow during the hardening off process, it could be a sign of overexposure to sunlight or inadequate watering. Adjust their conditions accordingly.
Wilting: Seedlings may wilt if they are exposed to high temperatures or excessive wind. Provide shade and reduce exposure until they recover.
Stunted growth: Stunted growth can occur if seedlings are not receiving enough sunlight or if they are overcrowded in their containers. Ensure they have adequate light and space for proper development.
Pest damage: Keep a close eye on your seedlings for signs of pest damage, such as chewed leaves or discoloration. Use organic pest control methods to address any infestations.
Successfully hardening off seedlings is a vital step in the journey of a gardener. By gradually exposing your young plants to the outdoor environment, you help them develop the strength and resilience they need to thrive in the garden. Remember to start the process at the right time, be patient, and monitor your seedlings closely. With proper care and attention, you'll be rewarded with healthy, robust plants that are ready to face the challenges of the great outdoors. Happy gardening!
Affiliate Disclosure:
In transparency and compliance with legal guidelines, please be aware that some of the links on this site are affiliate links. These are carefully chosen products that I have personally used, tested, and genuinely recommend. When you click and make a purchase through these links, I may earn a small commission, at no additional cost to you. This commission helps support the maintenance of this site, allowing me to continue providing valuable content and recommendations. Rest assured, my priority is to offer authentic and reliable information, and I only affiliate with products that align with the values and standards I uphold. Your trust means everything to me, and I appreciate your support. If you have any questions or concerns, please feel free to reach out. Thank you for being a valued part of our community!


